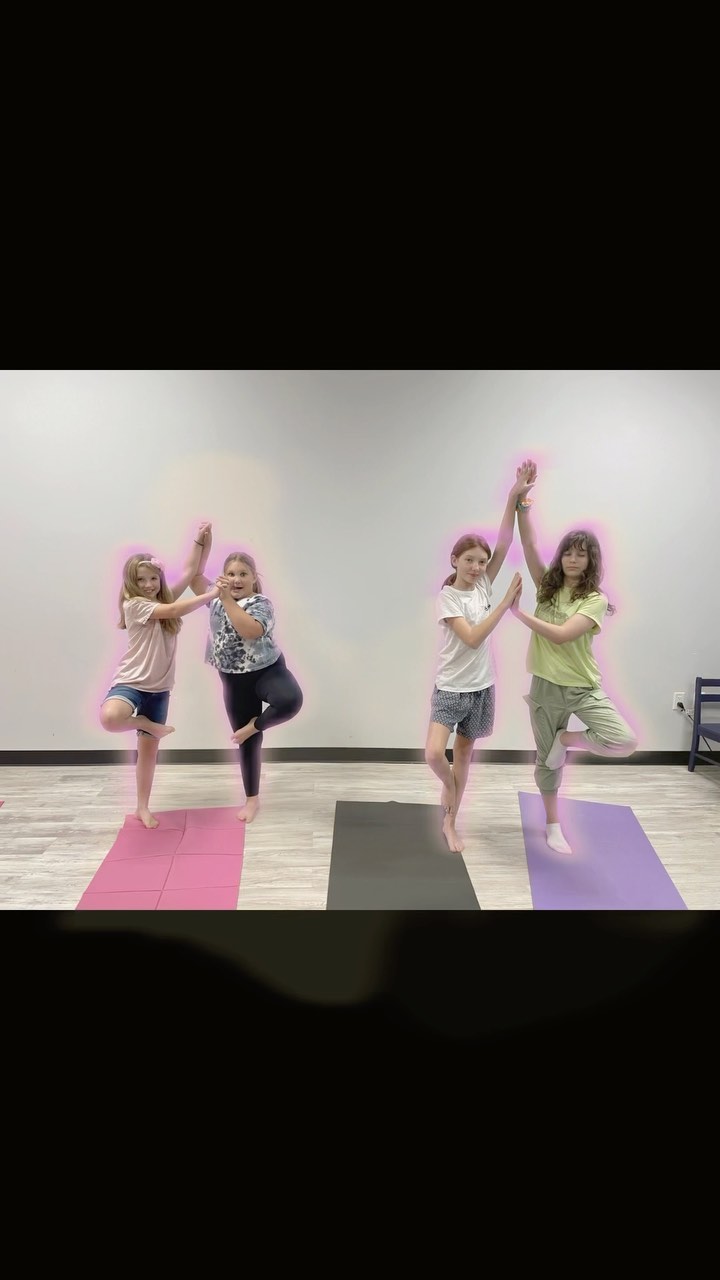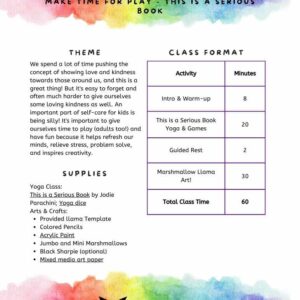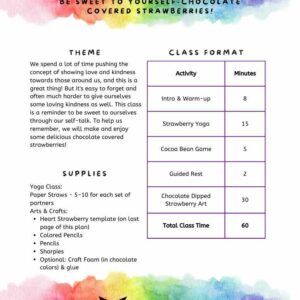
For the entire month of February our theme for classes is “I am Worthy of Love!” We spend a lot of time pushing the concept of showing love and kindness towards those around us, and this is a great thing! But it’s easy to forget and often much harder to give ourselves some loving kindness as well. It’s so important to build up a sense of worth and a practice of self-care from a young age.
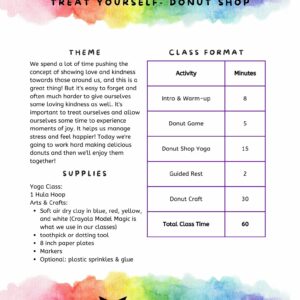
For week 1, we gave ourselves a little reminder to treat ourselves by practicing our fun Donut Shop Yoga flow. During class, we mixed up donut batter, cut out our circles & holes, fried our donuts, helped them cool, glazed them, and added sprinkles on top. Of course after all of that hard work we delivered our donuts to family & friends and devoured them together. We did a yoga pose for each step of our donut making/devouring journey and had a blast! We’ll share a few of our donut shop yoga poses here and the full class plan including a team challenge game and detailed instructions for our mindful craft is available to purchase in our shop!
Near the beginning of our donut making adventure we cut our donut shapes out of our dough.
First we cut out the circles – bow pose; then, we cut out the holes – child’s pose with arms by our sides.

After frying our donuts, they are way too hot for our toppings so we hop into our star poses with a great big inhale and spin around as fast as we can while blowing out all of that air!

Our 10 page donut shop yoga lesson includes everything you’d need to teach a 60 minute class using this theme, minus the props & art supplies. All of our plans include a break the ice topic, warm-up, yoga/mindfulness game, yoga flow story & pose illustrations, breathing exercise, guided relaxation, and a related art/craft project.
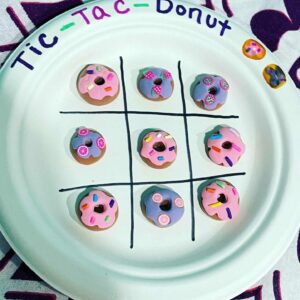
Mindful Crafting – Tic Tac Donut
We love using Crayola Model Magic during our mindful arts & crafts time! Model Magic is so easy for little hands to work with. We like to provide primary colors only because the process of mixing up our own unique colors is a great way to practice mindfulness. It’s so much fun for little ones to experiment with color! They’re usually completely in the moment, experiencing the clay using their sense of touch and sight. Their excitement when they create their own colors is so fun to see! Our class plan includes pictures for each step of this craft, but we will walk you through the process in this post. 🙂
Supplies: Crayola Model Magic (1 oz of white, 1 oz of blue, 1 oz of yellow, 1 oz of red), 8 inch paper plate, markers, toothpick/dotting tool. Optional: glue & plastic sprinkles
- Mix up 3 different colors of clay – Mindful Moment – ask them to notice how the clay feels in their hands as they work. Do different colors feel different? Does the clay make any noise as it’s being squished and stretched? How does working with the clay make them feel? Happy? Excited? Grossed out?
- brown for the dough – when mixing colors always start with a small amount of each color and add more if needed. To make brown we’ll use a small amount of red and blue and a lot of white and yellow.
- color 1 of your choice for icing
- color 2 of your choice for icing
- Make 10 small donuts using the brown clay: take about a dime sized piece of the dough color and roll it into a ball. Place the ball on a flat surface and use your thumb to flatten the circle just a bit. Use a toothpick or dotting tool and poke it into the middle of each of your donut piece. Gently move the toothpick/tool around in a circle to open up the hole in the donut. Make this hole as big as you’d like for your donut. Make a donut hole in all 10 pieces.
- Make icing pieces (5 in each color): Take a pea sized amount of icing and roll it into a ball. Just as we did with the donut pieces, flatten this ball on a flat surface making sure it’s big enough to cover most of one donut piece. Using your toothpick/dotting tool, make a hole in the center of the icing about the same size as the donut hole. If you’d like, use your tool to push in in random spots around the edge to make the edges of the icing piece slightly wavy.
- Carefully, lift up the icing pieces and place each one on top your donut pieces. Gently press down to stick them to the surface. Be careful not to squish your whole donut.
- If desired, glue on sprinkles
- Draw the tic-tac-donut grid on your paper plate and decorate it as you wish.
Give the donuts a few hours to dry and then challenge your family and friends to a game of tic-tac-donut!